Installing AntMe!
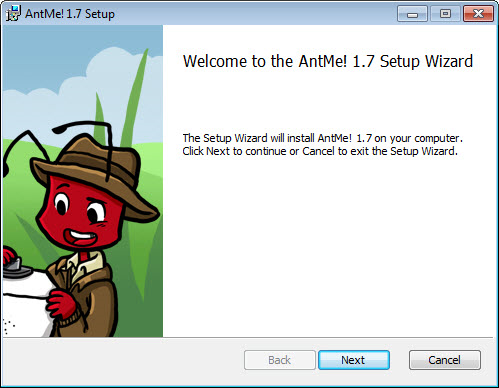
Click on the AntMe icon to begin the installation. The installer for AntMe! 1.7 will launch and you'll see this screen. Click "Next" to continue the installation. You can cancel the installation at any time by clicking the “Cancel” button.
AntMe! is a free project. On this screen you must confirm that you will not use the AntMe! license commercially. Just put a checkmark in the box by clicking on it and then click "Next".

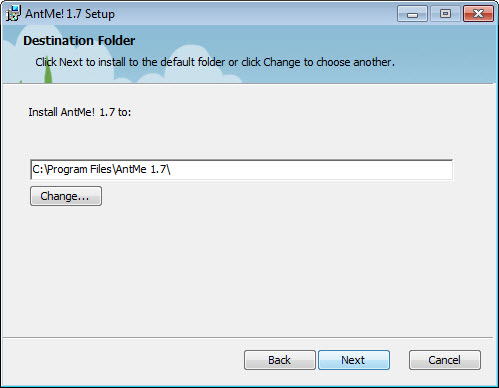
This screen lets you decide where AntMe! will be installed on your computer. It will automatically suggest a folder, but if you want install it somewhere else, just click on "Change" and then select the folder where you'd rather install it. Then click "Next" to confirm your selection and move on to the next step. In the example shown here, we chose to install the game in Windows' "Program Files" folder.
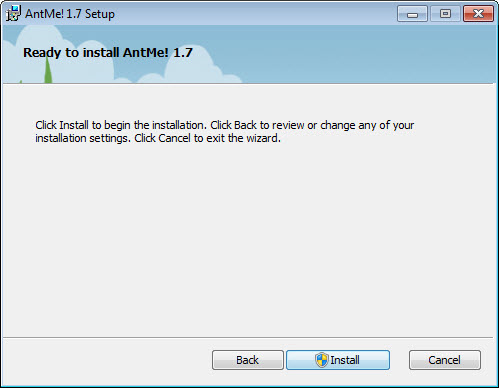
Now you're ready to start the installation process. Click "Install" to begin the installation. The green bar will let you keep track of its progress.
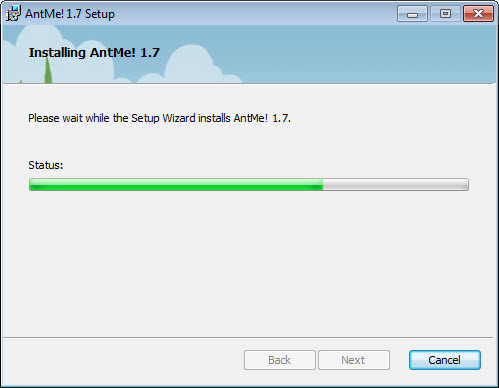
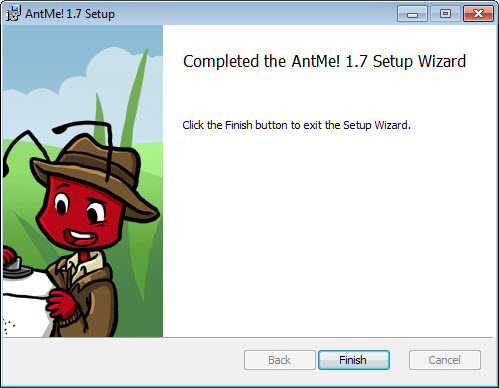
Don't worry - the installation won't take long. When it's done you'll see the following screen. Click "Finish" to complete the installation.
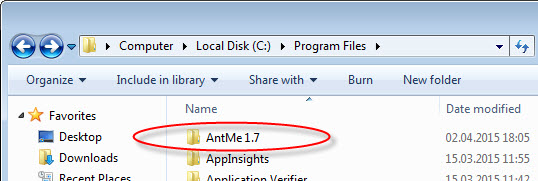
Open the destination folder on your PC. You should now see a folder called "AntMe 1.7" inside. In our case, it's located in the "Program Files" folder.
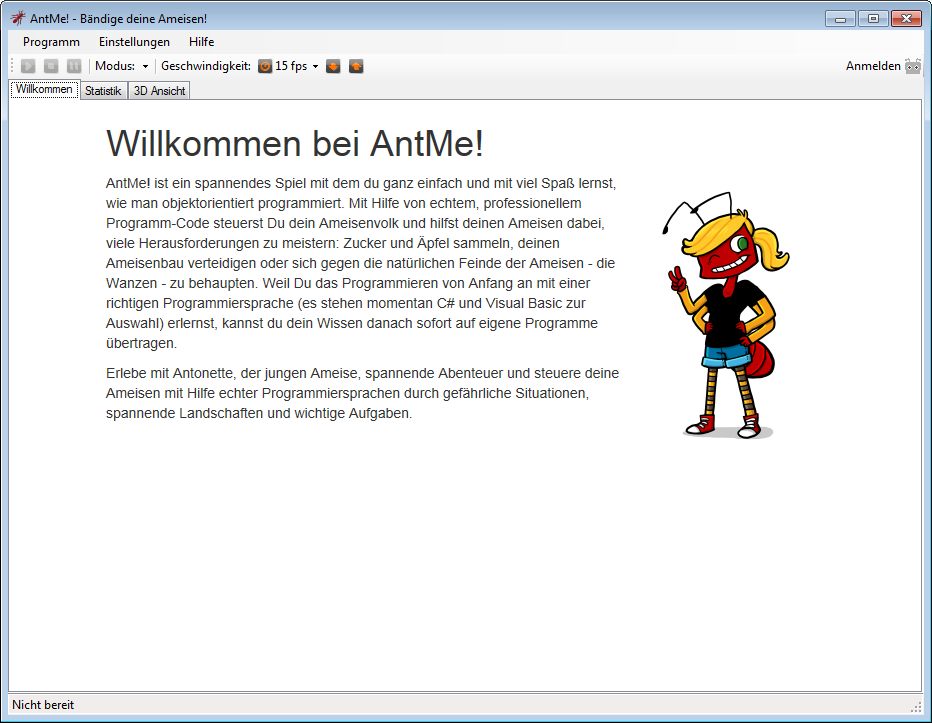
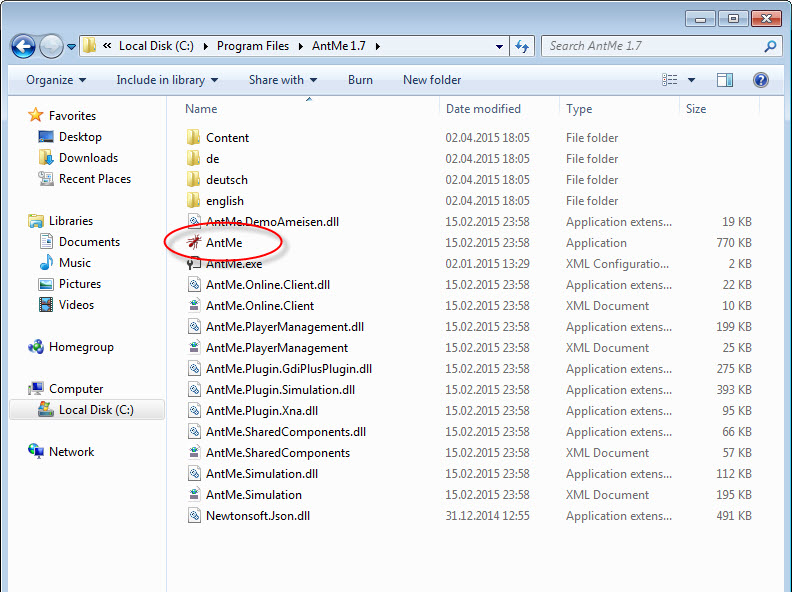
If you've already installed the other packages (remember, besides AntMe! you need a development environment as well as the .NET and .XNA frameworks) then you can start playing the game now. Just click on the "AntMe" icon. It looks like a red ant.
If all four packages are installed, the AntMe! start screen will appear. From there you can start a new game and create your own little ant colony. We'll talk about how to do that in Lesson 3.